.jpg)
Creating a custom isotop in Next.js can revolutionize the way you display data, offering a responsive, dynamic, and visually appealing layout for your web applications. CodexCoach is here to guide you through each step of the process, from initializing your project to displaying your isotop index data with flair.
By the end of this tutorial, you’ll have a solid understanding of how to implement this powerful feature in your Next.js projects.
Introduction
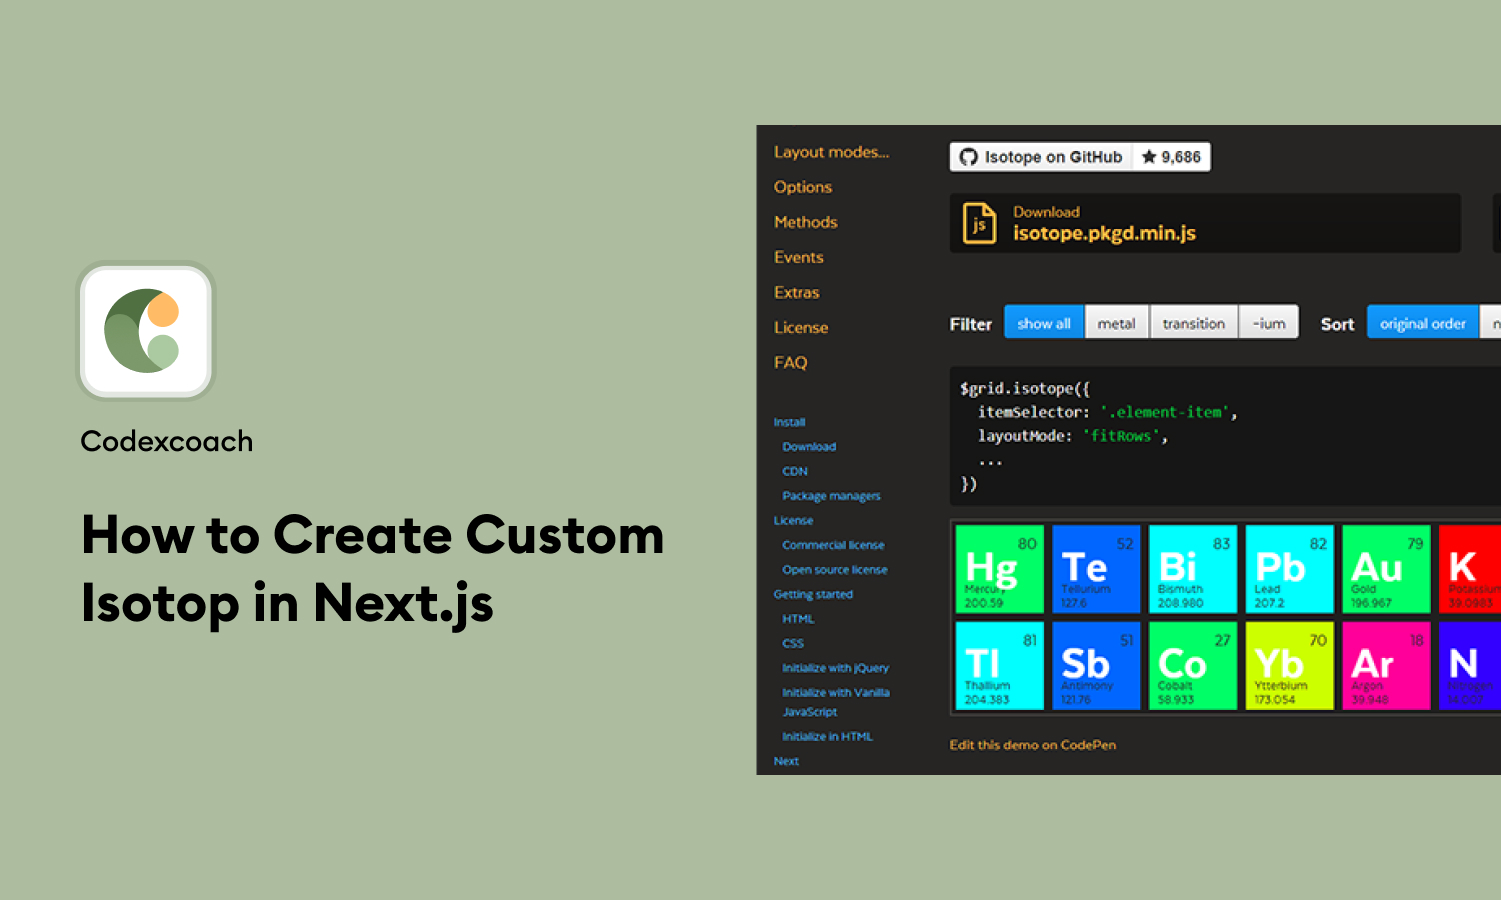
Isotope is a popular JavaScript library for creating dynamic and filterable grid layouts. However, when working within a Next.js environment, leveraging this library to create a custom isotop requires a nuanced approach.
The goal is to integrate isotope’s functionality with Next.js‘s server-side rendering capabilities to produce an efficient, scalable solution. CodexCoach is committed to helping you navigate these complexities with ease.
Create a New Project
Start by setting up your Next.js project if you haven’t already. Open your terminal and run:
npx create-next-app@latest my-custom-isotop-project
cd my-custom-isotop-project
This creates a new Next.js application named my-custom-isotop-project. Navigate into your project directory to begin working on your custom isotop in Next.js.
3. Make a Grid Function and Set It in Your <ul> </ul>
To utilize isotope within Next.js, you must first create a grid function. This function initializes the isotope layout and applies it to your content.
<ul>
    <div>
     {items_list &&
       items_list.map((list_data, index) => {
         return (
           <li
             key={index}
             className={active === list_data.value ? "active" : ""}
             data-filter={list_data.value}
             onClick={() => filterItem(list_data.value)}
           >
             {list_data.label}
           </li>
            );
          })}
       </div>
   </ul>
This code snippet is a part of a React component that dynamically generates a list within an unordered list (<ul>) tag, with each item wrapped inside a <div> (though typically, it’s more common and semantically correct to have <li> elements directly under <ul> without a <div> wrapper).
The purpose of this code is to create a list of items (likely for a menu, filter, or navigation component) based on an array named items_list. Each item in the list has functionality and styling that depend on whether it is the currently active item.
4. Add This to Show Your Isotop Index Data
This code snippet is from a React component and uses the React Hooks API (useState and useEffect) for state management and side effects. It demonstrates how to filter a list of items based on a category.
const [items, setItems] = useState(items_array);
 const [active, setActive] = useState("*");


 useEffect(() => {
   // Apply filter if active category is not "*"
   if (active !== "*") {
     filterItem(active);
   }
 }, [active]);


 function filterItem(category) {
   setActive(category);
   if (category === "*") {
     setItems(items_array);
     return;
   }
   const filteredData = items_array.filter((value) => {
     return value.category.includes(category);
   });
   setItems(filteredData);
 }
This code allows for dynamic filtering of a list of items based on categories. Initially, all items are displayed. When a user selects a category (other than “*”), the list updates to only show items belonging to that category.
The useEffect hook ensures that the filter is applied not just when a category is directly selected but also when the active category state changes programmatically, providing a reactive and interactive user experience.
5. Download Demo from Here
To help you hit the ground running, CodexCoach has prepared a demo project for you. Download the complete example to explore the code and see the custom isotop in action within a Next.js application.
6. Conclusion
Integrating a custom isotop in Next.js can significantly enhance the interactivity and visual appeal of your web applications. By following the steps outlined in this tutorial, you’re well on your way to mastering this integration. Remember, the key to success lies in understanding the underlying principles and applying them to your unique requirements.
FAQs
Can I use this approach with dynamic data?
Absolutely! The example provided uses static data for simplicity, but you can easily adapt it to work with dynamic data fetched from an API or database.
Is there a way to customize the layout further?
Yes, Isotope offers a wide range of options for customizing the layout. You can explore these on the Isotope documentation to tailor the grid to your needs.
How does Isotope work with server-side rendering in Next.js?
Isotope is client-side JavaScript, so it runs in the browser. To ensure compatibility with Next.js’s server-side rendering, you should initialize Isotope in the useEffect hook, as this runs after the component mounts on the client side.
This guide, provided by CodexCoach, aims to make you proficient in creating custom isotop layouts within your Next.js projects. Keep experimenting and exploring the possibilities to create even more engaging and dynamic web experiences.