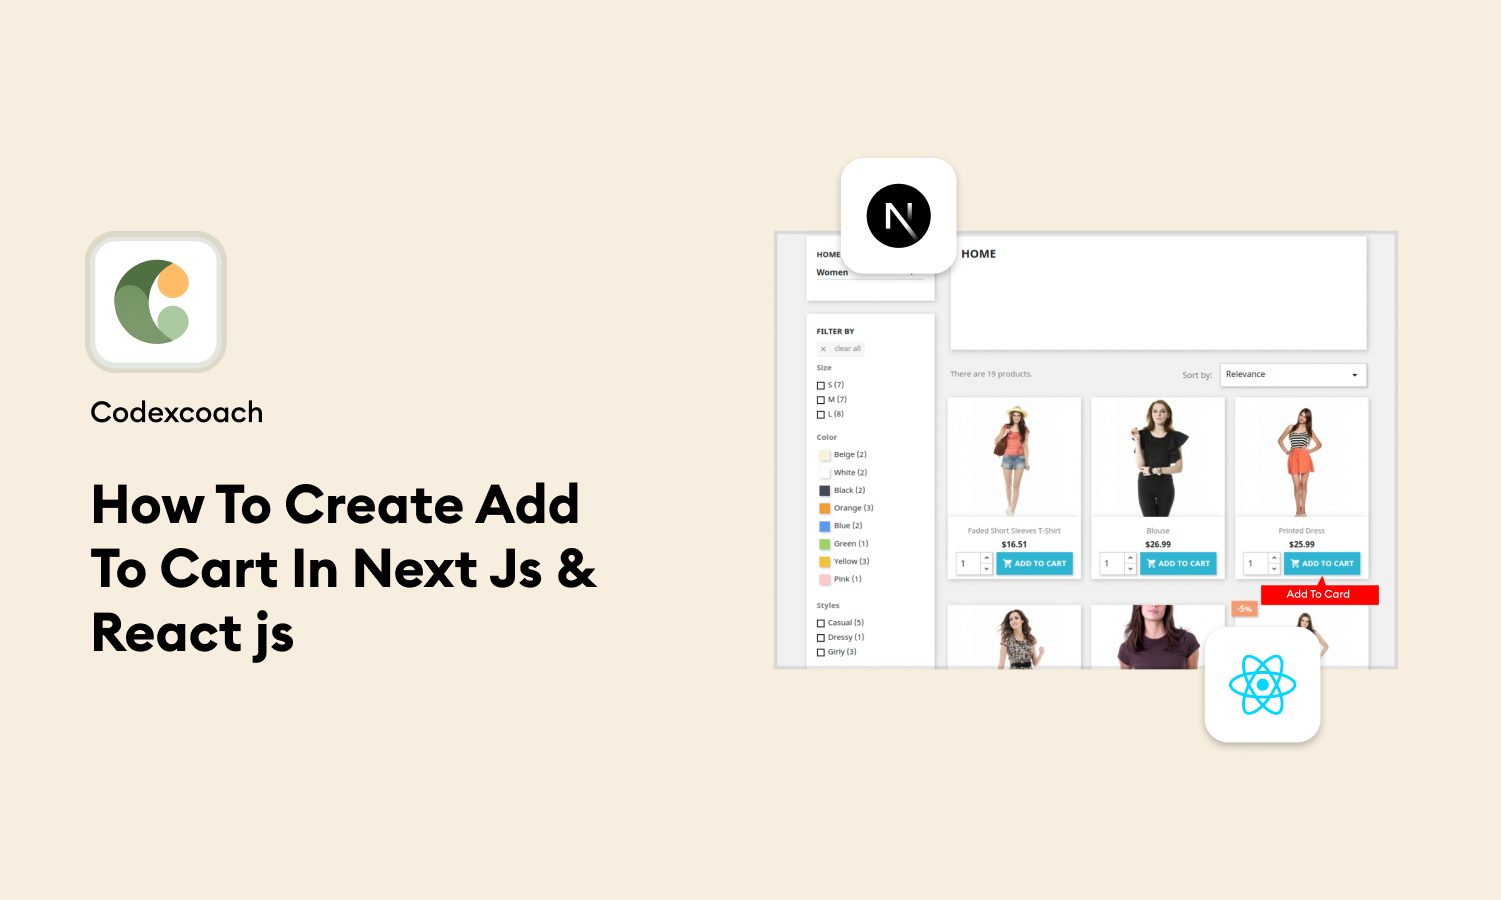
In the evolving world of web development, creating an intuitive and efficient shopping cart feature is crucial for any e-commerce platform. Next.js and React.js offer a robust foundation for building dynamic web applications, including sophisticated e-commerce solutions.
This blog post, brought to you by CodexCoach, will guide you through the steps of adding an “Add to Cart” feature in your Next.js and React.js project.
Introduction
The “Add to Cart” functionality is a cornerstone of e-commerce platforms, allowing users to select products for eventual purchase. Implementing this feature in Next.js and React.js not only enhances user experience but also familiarizes you with managing state and props in a React environment. We’ll integrate this feature while maintaining best practices for a scalable and maintainable codebase.
Step 1: Install Library in Project
To install the library in your project, you need to run the following command in your terminal or command prompt, ensuring you are in the root directory of your Next.js or React.js project:
npm install react-use-cartAfter installation, you can start using react-use-cart by importing its hooks into your React components, enabling you to manage cart state and operations with ease.
Also read: How To Apply Head Meta Tag & SEO Tag In Next.js
Step 2: Import Library in project
follow these steps after you have installed the library as previously described. This hook provides a convenient way to manage cart functionality within your application.
import { useCart } from 'react-use-cart';Step 3: Import modules to add product in project
const {
      addItem,
      items,
      removeItem,
      updateItemQuantity,
      isEmpty
    } = useCart();
Before adding products to the cart, define your product data structure and import any modules needed for product handling. For demonstration, create a simple product list in a JSON file or directly within your component.
Step 4: add product in project
With your products defined, create a function to handle adding products to the cart. This function should update the state that tracks the cart items:
// Check if the product is already in the cart
 const productInCart = items.some((item) => item.id === data.id);


 const handleAddToCart = (e) => {
   e.preventDefault();
   addItem(data);
   document.getElementById("cart-add").click();
 };
Step 5: To set the function on button
For each product, render a button that calls addToCart when clicked. This integrates your function with the user interface:
<Link
  href=""
  onClick={handleAddToCart}       className={`add-to-cart-btn${productInCart ? ' add' : ' '}`}
  >
   <span className=[icon of cart]></span>
</Link>
Step 6: To show the product in drop down and on page of cart
To display products in a dropdown and on a cart page, you integrate a UI component that lists selected items, allowing users to view their choices conveniently. In the dropdown, users can quickly see a summary of items added to their cart, typically accessible from a navbar or header.
const {
       items,
       isEmpty,
       updateItemQuantity,
       removeItem,
   } = useCart();
if (isEmpty) {
       return (
          // code for html to show empty cart
       )
    };
items && items.map((data) => {
       return (
           <div className="cart-thumb" key={data.id}>
               <div>{data.image}</div>
           </div>
       )
   })
On the cart page, a detailed view of the cart items is presented, including product names, quantities, and prices, along with options to remove items or adjust quantities.
Also read: How To Add Wishlist In Next Js & React js
Step 7: To Remove the Product Function Set on Button
The “remove product” functionality is implemented through a button that, when clicked, triggers the handleremoveToCart function. This function takes an item and the click event (e) as arguments, preventing the default link behavior with e.preventDefault() and calling removeItem(item) to remove the specified item from the cart.
const handleremoveToCart = (item, e) => {
       e.preventDefault();
       removeItem(item);
   };
<Link
  href=""
  onClick={handleremoveToCart}       className={`remove-cart-button{productInCart ? ' add' : ' '}`}
  >
   <span className=[remove icon of cart]></span>
</Link>
Step 8: Update Quantity add and less button
Clicking the “less” button decreases the item’s quantity by one, while clicking the “add” button increases the quantity by one. These actions are handled through event listeners that call the updateItemQuantity function, passing in the item’s ID and the new quantity (either incremented or decremented).
// item less function
onClick={() => updateItemQuantity(data.id, data.quantity - 1)}
// item add function
onClick={() => updateItemQuantity(data.id, data.quantity + 1)}
Conclusion:
integrating an “Add to Cart” functionality into your Next.js and React.js project significantly enhances the e-commerce capabilities of your application, providing a seamless and interactive shopping experience for users.
Through the steps outlined in this blog post, from setting up the necessary libraries to displaying products in a dropdown and managing cart operations, developers can build a robust shopping cart system.
We at CodexCoach are committed to providing you with the knowledge and tools needed to build sophisticated web applications. Whether you’re adding e-commerce functionalities to your project or learning new web development techniques, we hope this guide serves as a valuable resource on your development journey. With these skills, you’re well on your way to creating intuitive, user-friendly web applications that stand out in the digital marketplace.

