.jpg)
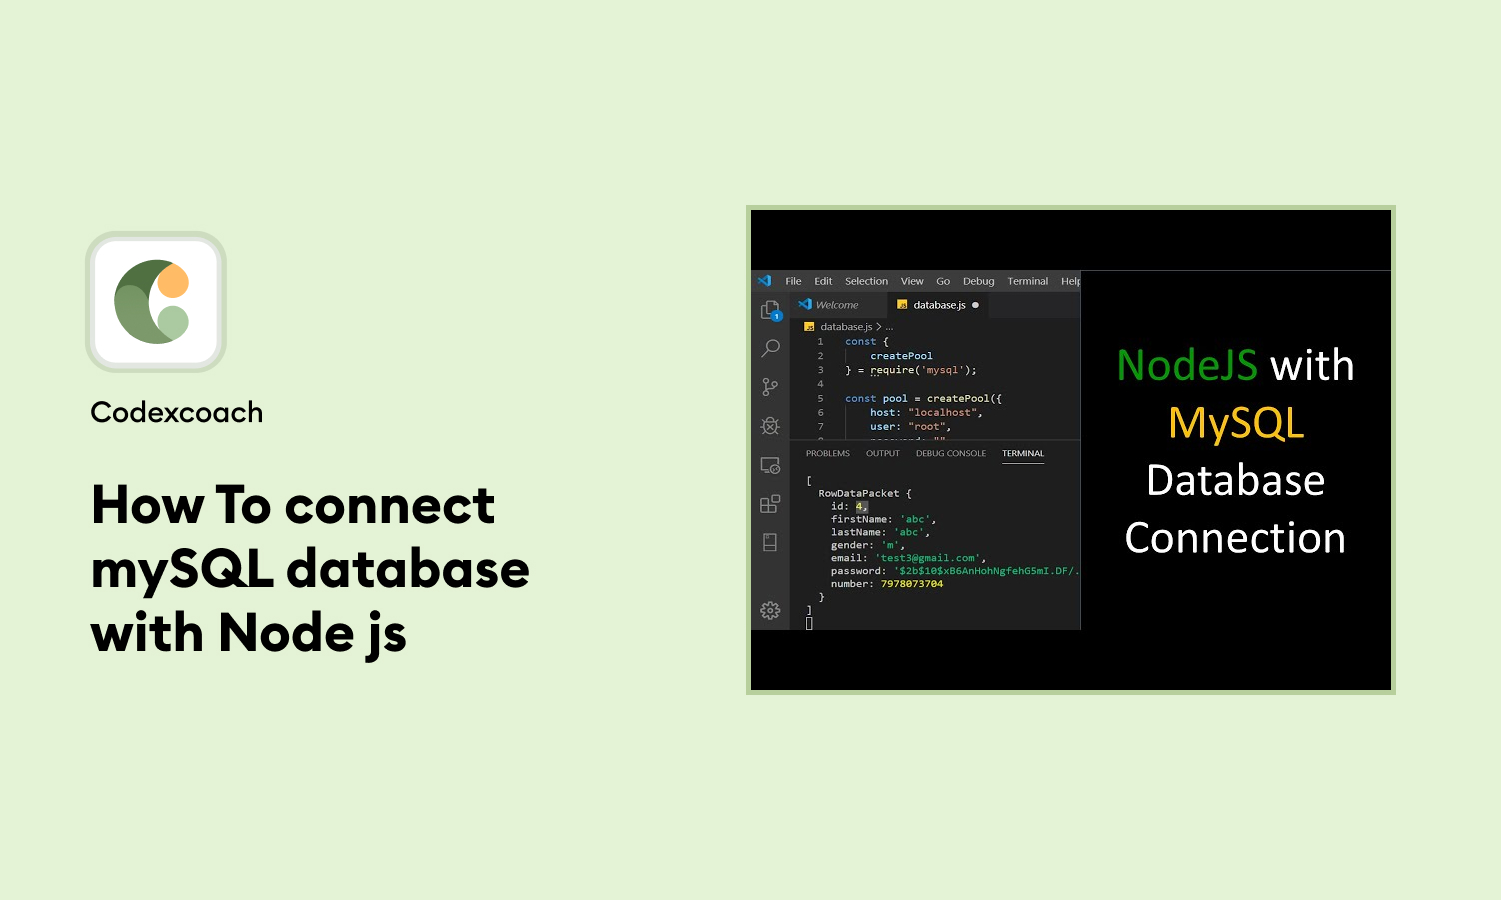
In today’s web development landscape, integrating a database with your server-side code is essential for creating dynamic and data-driven applications. MySQL, one of the most popular relational databases, pairs exceptionally well with Node.js, a leading server-side JavaScript runtime.
This guide, brought to you by CodexCoach, will walk you through the process of how to connect MySQL with Node.js, ensuring you gain the knowledge and confidence to implement this in your own projects.
Connecting MySQL to Node.js enables developers to interact with databases directly from their JavaScript code, opening up opportunities for creating more interactive and personalized user experiences. Whether you’re building web applications, APIs, or services, understanding how to connect MySQL with Node js is a valuable skill in your development toolkit.
Step 1: Install Library in Project
The first step to connect Node.js to MySQL is installing the necessary Node.js library. The mysql package is a popular choice, providing an easy-to-use interface for interacting with MySQL databases. To install this package, open your terminal and run the following command in your project directory:
npm install mysql2After installing the mysql library, the next step is to set up your server. For this guide, we’ll use Express, a fast, unopinionated, minimalist web framework for Node.js. If you haven’t already installed Express, you can do so by running npm install express.
- npm install expressAlso read: How To Insert and send Form Data In Api In Nextjs
Step 2: Create server.js file
Create a file named server.js in your project directory and add the following code to initialize your Express server:
// Express.js Application for managing user data
const express = require("express");
const app = express();

// IMPORT FROM DATABASES POOL TO CONNECT ALL QUERY WITH DATABASES
const pool = require("./util/database");

// DOTENV TO SECURE SECRET DATA
require("dotenv").config();

// PORT FOR START SERVER
const port = process.env.PORT;

/*-----------------------------------------------------------------------------------*/
// TO CHECK THE SERVER GET REQUEST IS WORKING
app.get("/", (req, res) => res.send("Hello World From NodeJS!"));

/*-----------------------------------------------------------------------------------*/
// Start the server
pool.getConnection((err, connection) => {
 if (err) {
   throw err;
 }
 app.listen(port, () =>
   console.log(`Example app listening at https://localhost:${port}`)
 );
 console.log("DB connected successful: " + connection.threadId);
});
This code snippet sets up a basic Express server that listens on port 3000.
Also Read: How To create AddToCart In Next Js & React js
Step 3: Create util/database.js file
To organize your database connection logic, create a util directory in your project and inside it, a file named database.js. This file will contain the code to connect MySQL with Node.js Express. Add the following code to database.js:
const mysql = require('mysql2');
const dotenv = require('dotenv');
dotenv.config()

const pool = mysql.createPool({
   host: process.env.DB_HOST,
   user: process.env.DB_USER,
   password: process.env.DB_PASSWORD,
   database: process.env.DB_DATABASE,
   waitForConnections: true,
   connectionLimit: 10,
   queueLimit: 0
})

module.exports = pool;
In this code, mysql.createPool creates a pool of connections to your MySQL database, improving the efficiency of database operations. Remember to replace 'your_username', 'your_password', and 'your_database_name' with your actual MySQL database details.
Step 4:Creat .env file
To securely manage your application’s configuration, such as database credentials, use a .env file. This approach ensures that sensitive information is not hard-coded into your application’s source code.
Create a .env file in the root of your project and add your MySQL database configuration:
PORT:3000
DB_HOST:localhost
DB_USER:root
DB_PASSWORD:Admin@123
DB_DATABASE:my_task
Download the demo from here
To help you get started, CodexCoach provides a comprehensive demo showcasing how to connect MySQL with Node.js. This demo includes all the files and configurations discussed in this blog post, allowing you to see a working example of a Node.js application connected to a MySQL database.
By following the steps outlined in this tutorial, you’re now equipped to connect MySQL with Node.js
Also read: