.jpg)
If you’re a web developer, you know how important it is to connect to APIs, which allow different applications to talk to each other and share data. A common way to talk to APIs is through HTTP requests. These are special messages that follow a set format, allowing you to send and receive data from the server.
There are several types of HTTP requests such as GET, POST, PUT, PATCH, and DELETE. Everyone does something different. In this blog post, we are focusing on the DELETE request. This is used to remove a resource from the server. We’ll learn how to send a delete request using Node.js a popular tool that lets you run JavaScript on the server.
By the end of this post, you will know how to send DELETE requests in Node.js and handle the API more efficiently. Let’s start learning!
What is a DELETE Request?
A DELETE request is a way of asking the server to remove something, such as a user profile, blog post, comment, or file. It is used when talking to APIs, which are systems that allow different software to talk to each other.
How Does It Work?
You send a takedown request with a web address that points to what you want removed. For example, if you want to delete a user with ID 123, you would send a delete request to https://example.com/api/users/123. The server then handles this request and tells you if it can delete the item or not.
You can use a deletion request for some reasons, such as:
- Deleting unused or suspicious user accounts.
- Removal of inappropriate posts or comments.
- Deleting old or corrupted files.
- Removing duplicate or incorrect records.
However, caution is required in using a delete request because once something is deleted, it cannot be brought back. Make sure you have permission to delete the item, and it’s often a good idea to back up or confirm the deletion to avoid mistakes.
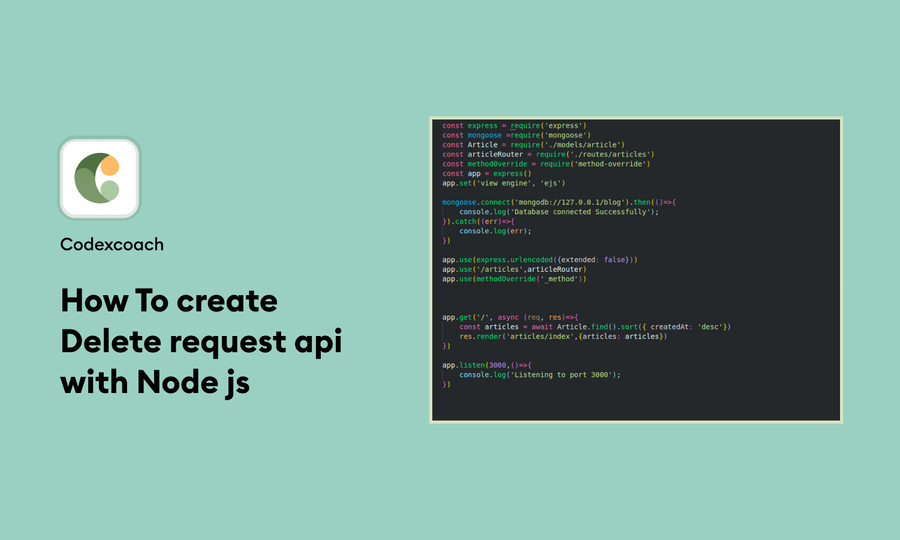
How to Make a Delete Request in Node.js Using HTTP Module
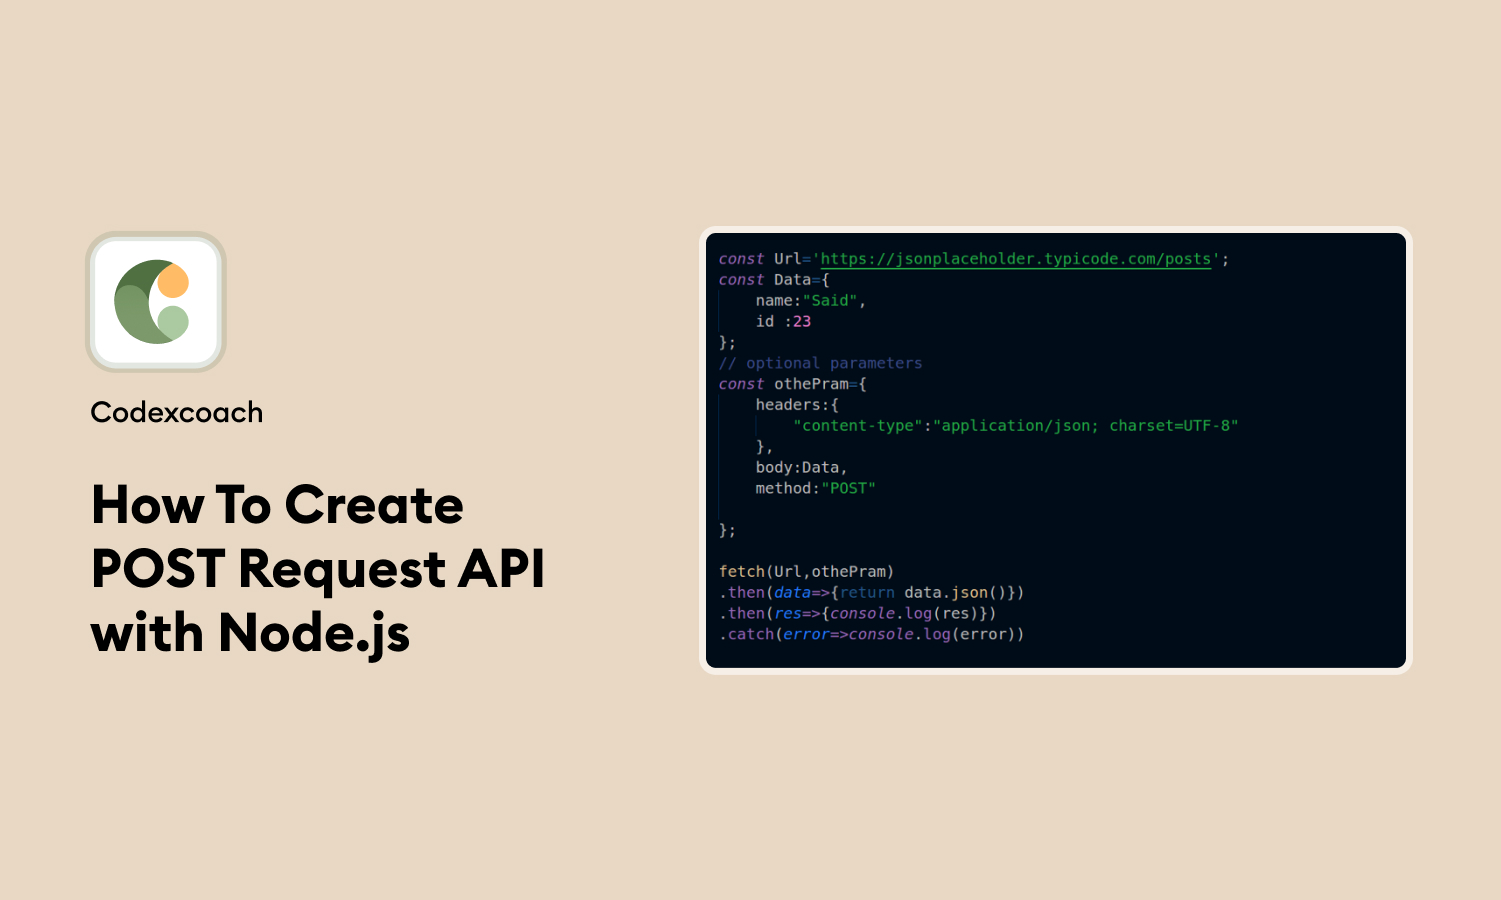
1. Make a POST Request
The service method:
export const saveCountry = async (country: any) => {
    return await db.one('INSERT INTO Country(capital, code, continent, description, nationality) ' +
        'VALUES ($1, $2, $3, $4, $5)',
        [country.capital, country.code, country.continent, country.description, country.nationality])
}
The controller method:
router.post('/countries', (req: Request, res: Response) => {
    console.log(req.body);
    countryService.saveCountry(req.body).then(
        () => {
            res.status(200).json({
                message: "Country was Inserted"
            });
        }
    ).catch((error)=>{
            res.status(303).json({
                message: "Error occured" + error.message
            })
    });
});
2. Make an UPDATE (PUT Request)
The update method in the country-service.ts file
export const updateCountry = async (id:number, country: any) => {
    return await db.one('UPDATE Country SET capital = $1, code = $2, continent = $3, description = $4, nationality = $5 ' +
        'WHERE id = $6',
        [country.capital, country.code, country.continent, country.description, country.nationality, id])
}
The update method in the country-controller.ts file
router.put('/countries/:id', (req: Request, res: Response) => {
    countryService.updateCountry(parseInt(req.params.id), req.body).then(
        () => {
            res.status(200).json({
                message: "Country was successfully updated!"
            });
        }
    ).catch((error)=>{
        res.status(303).json({
            message: "Error occured" + error.message
        })
    });
});
3. DELETE A Country
The service method for delete
export const deleteCountry = async (id:number) => {
    return await db.any('SELECT FROM Country WHERE id = $1', [id])
}
The controller method
router.delete('/countries/:id', (req: Request, res: Response) => {
    countryService.deleteCountry(parseInt(req.params.id)).then(
        (country) => {
            res.send(country);
        }).catch((error) => res.send(error.message))
    ;
});
At this point, you can run the application. Then use Postman to test the API endpoints.