.jpg)
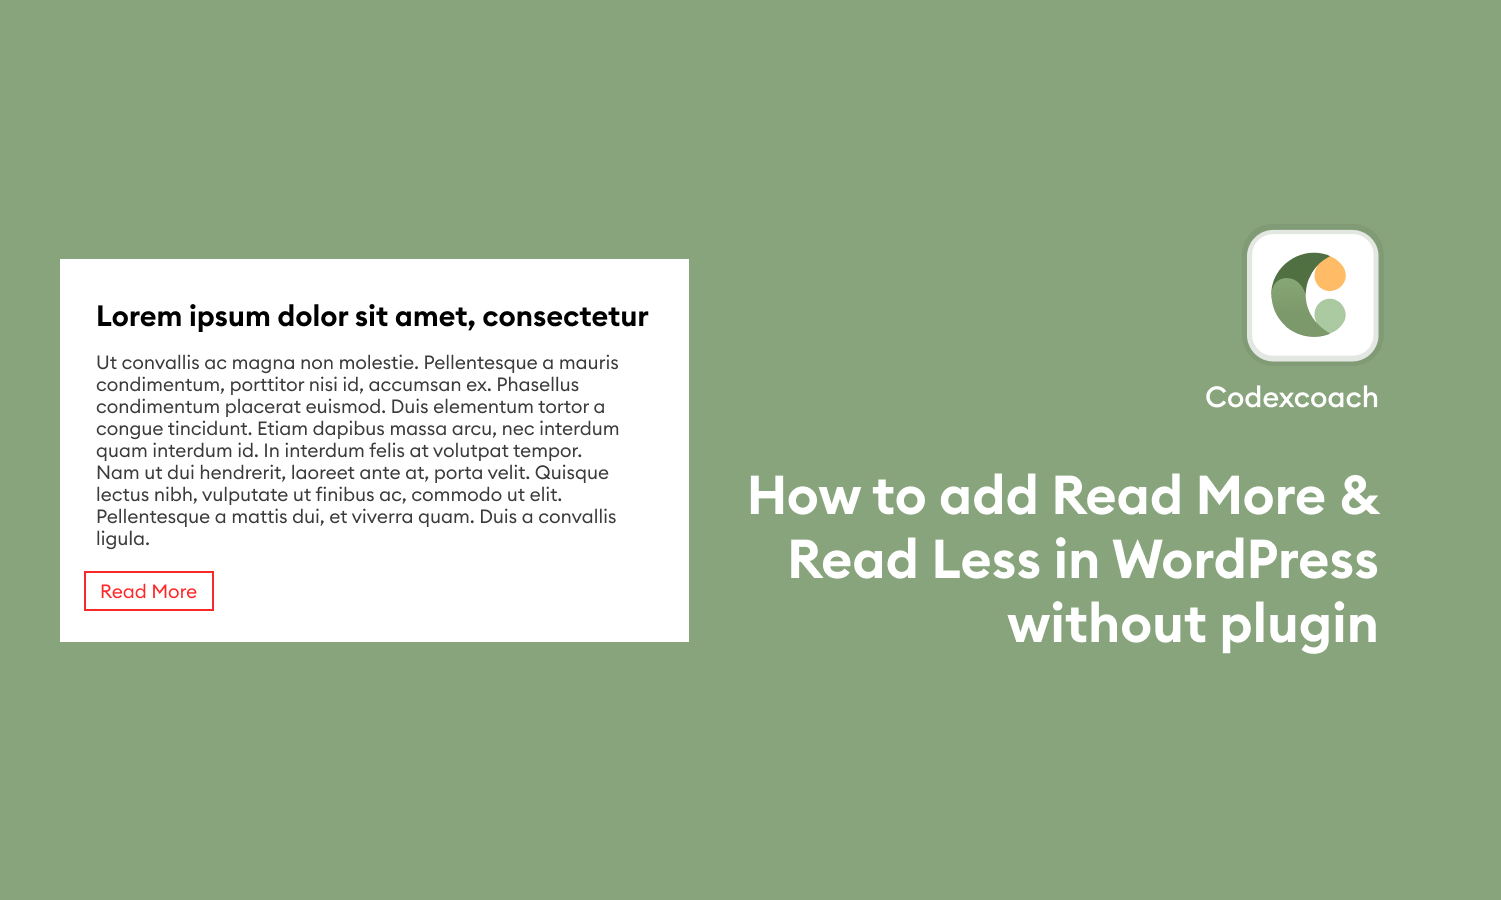
Introduction: In web development, it’s common to encounter scenarios where you want to display a limited amount of content initially, with an option to expand and view more if desired. One popular approach to achieve this is by implementing a “Read More/Read Less” feature. This user-friendly functionality allows visitors to your website to conveniently expand or collapse additional content with just a click.
In this tutorial, we will explore how to create a “Read More/Read Less” functionality using HTML and jQuery. HTML (Hypertext Markup Language) provides the structure and content of the web page, while jQuery simplifies the process of manipulating and interacting with HTML elements using JavaScript.
By the end of this tutorial, you will be able to incorporate the “Read More/Read Less” feature into your web pages, enhancing the user experience and providing a more concise presentation of content.
So, let’s dive in and learn how to implement this useful feature using HTML and jQuery!
- HTML Code
<span class="cxc-short-desc">
		<p> Lorem Ipsum is simply dummy text of the printing and typesetting industry. Lorem Ipsum has been the industry's standard dummy text ever since the 150 when an unknown printer took a galley of type and scrambled it to make a type specimen book. It has survived not only five centuries, but also the leap into electronic typesetting, remaining essentially unchanged. It was popularised in the 1960s with the release of Letraset sheets containing Lorem Ipsum passages, and more recently with desktop publishing software like Aldus PageMaker including versions of Lorem Ipsum.</p>
</span>
Also Read: How To Create a Scroll Back To Top Button using jQuery
- Use this jQuery
<script type="text/javascript">
		jQuery(document).ready( function() {

			var show_char = 100;
			var ellipses = "... ";
			if( jQuery(".cxc-short-desc").length > 0 ){
				var content = jQuery(".cxc-short-desc").text();

				if( content.length > show_char ) {
					var a = content.substr(0, show_char);
					var b = content.substr(show_char - content.length);
					var html = a + "<span class='truncated'>" + ellipses + "</span><span class='truncated' style='display:none'>" + b + "</span><a class='read-more' href='#'>Read more</a>";
					jQuery(".cxc-short-desc").html("<p>" + html + "</p>");
				}
				jQuery(document).on('click',".read-more",function(e) {
					e.preventDefault();
					jQuery(".read-more").text() == "Read more" ? jQuery(".read-more").text("Read less") : jQuery(".read-more").text("Read more")
					jQuery(".cxc-short-desc .truncated ").toggle();
				});
			}

		} );
</script>
Conclusion
By following this tutorial, you’ve learned how to create the “Read More/Read Less” functionality using HTML and jQuery. Implementing this feature on your website can significantly improve the user experience and engagement with your content.
Also read: How To Create The Animated Accordion Using HTML, CSS, and jQuery
Users will appreciate the ability to preview lengthy text and choose whether to delve deeper into it. Enhancing your website’s content presentation will ultimately lead to a more enjoyable and interactive browsing experience for your visitors. So, why wait? Start implementing the “Read More/Read Less” functionality on your website today!