.jpg)
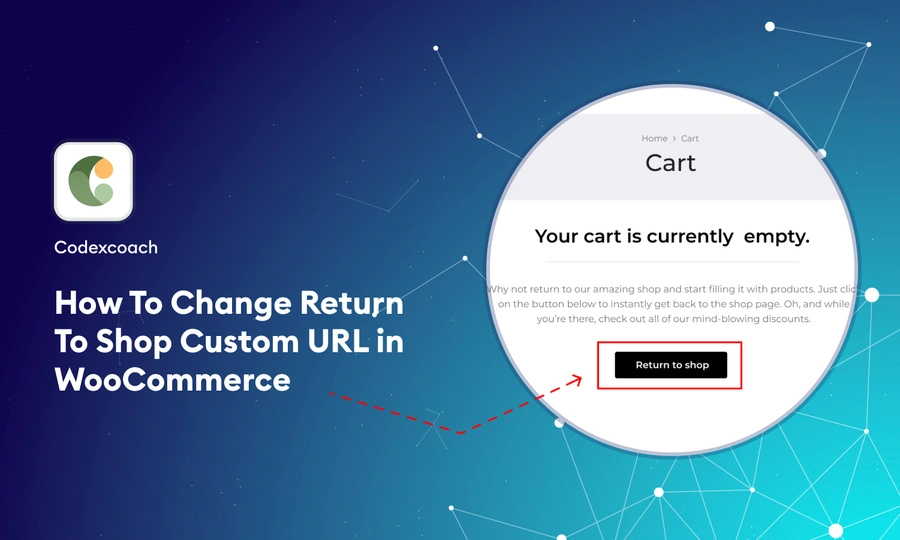
In today’s guide, I’ll show you how to replace the ‘Return to Shop’ button on your WooCommerce cart page. This button appears when your cart is empty, and by default, it redirects customers to your shop page. However, you may want to customize it to better suit your store’s needs.
I will provide you with a step-by-step process with ready-to-use code snippets that you can easily copy and paste into your store. This snippet allows you to not only change the URL but also lets you customize the text of the button.
But before we get into the technical details, let’s figure out why you might want to make this change in the first place and what benefits it can bring to your online store.
Change the “Return to Shop” Button Link in WooCommerce
Do you know how sometimes after adding an item to your cart in an online store, you are redirected to a page you did not expect? With WooCommerce, you can change where users go after adding an item to their cart or clicking the ‘Continue Shopping’ link.
WooCommerce gives you a tool called “Filters” to do this. Filters let you change the way things work without messing with the underlying code. For example, if you have a store that focuses on just one product, you’ll probably want users to always go back to that product after doing something like adding to their cart.
To use this filter, you need to go to a file called function.php in your website theme. Don’t worry, it’s not as complicated as it seems. Once you’re there, you can add a small snippet of code that tells WooCommerce where to send users next.
add_filter( 'woocommerce_return_to_shop_redirect', 'st_woocommerce_shop_url' );
/**
 * Redirect WooCommerce Shop URL
 */

function st_woocommerce_shop_url(){

return site_url() . '/product/my-product/';

}
For example, if you want users to go back to a specific product page, you can use a function called site_url() to get the main site’s URL and then the product’s slug (coming after the main URL part) can be added. The page you want them to visit. Alternatively, you can simply type the full web address if you prefer.
This way, you’re ensuring that users are always directed where you want them, making their shopping experience smoother and more focused. This is a neat trick that helps you better tailor your store to your products and your customers’ needs.
add_filter( 'woocommerce_continue_shopping_redirect', 'st_change_continue_shopping' );
/**
 * WooCommerce
 * Change continue shopping URL
 */
function st_change_continue_shopping() {
   return wc_get_page_permalink( 'shop' ); // Change link
}
FAQs – Changing The ‘Return to Shop’ Link in WooCommerce
Q1. Why would I want to change the ‘Return to Shop’ link in WooCommerce?
Customizing the ‘Return to Shop’ link lets you control where shoppers go after adding an item to their cart. This is useful if you want to show them related products, share more information, or direct them to a specific page on your site.
Q2. Will changing this affect my website’s SEO?
No, that won’t happen. As long as you keep URLs relevant and use good keywords, SEO should remain the same or even improve.
Q3. What is the best thing I can do with a customized ‘Return to Shop’ link?
many! You can send customers to pages with related products, show them ongoing sales, or take them to pages with useful information.
Q4. Can I send a ‘Return to Shop’ link to a different page on my site?
Definitely! You can send it wherever you want, like product categories, special promotions, or custom pages.
Q5. Can I change the ‘Return to Shop’ link only for certain products or categories?
Yes, you can. You can customize it for specific products, categories, or situations using special plugins with codes or rules.
Conclusion
I really hope you found these tips on changing the ‘Return to Shop’ link in WooCommerce useful. This is a great way to make your online store more personalized for your customers. Plus, it can also help increase your sales by directing them to specific pages like a product showcase or a special deals section.
Oh, and don’t forget to change the button text! It may seem small, but it can make a big difference, especially if one’s car is empty. An attractive button can inspire them to learn more and perhaps make a purchase.