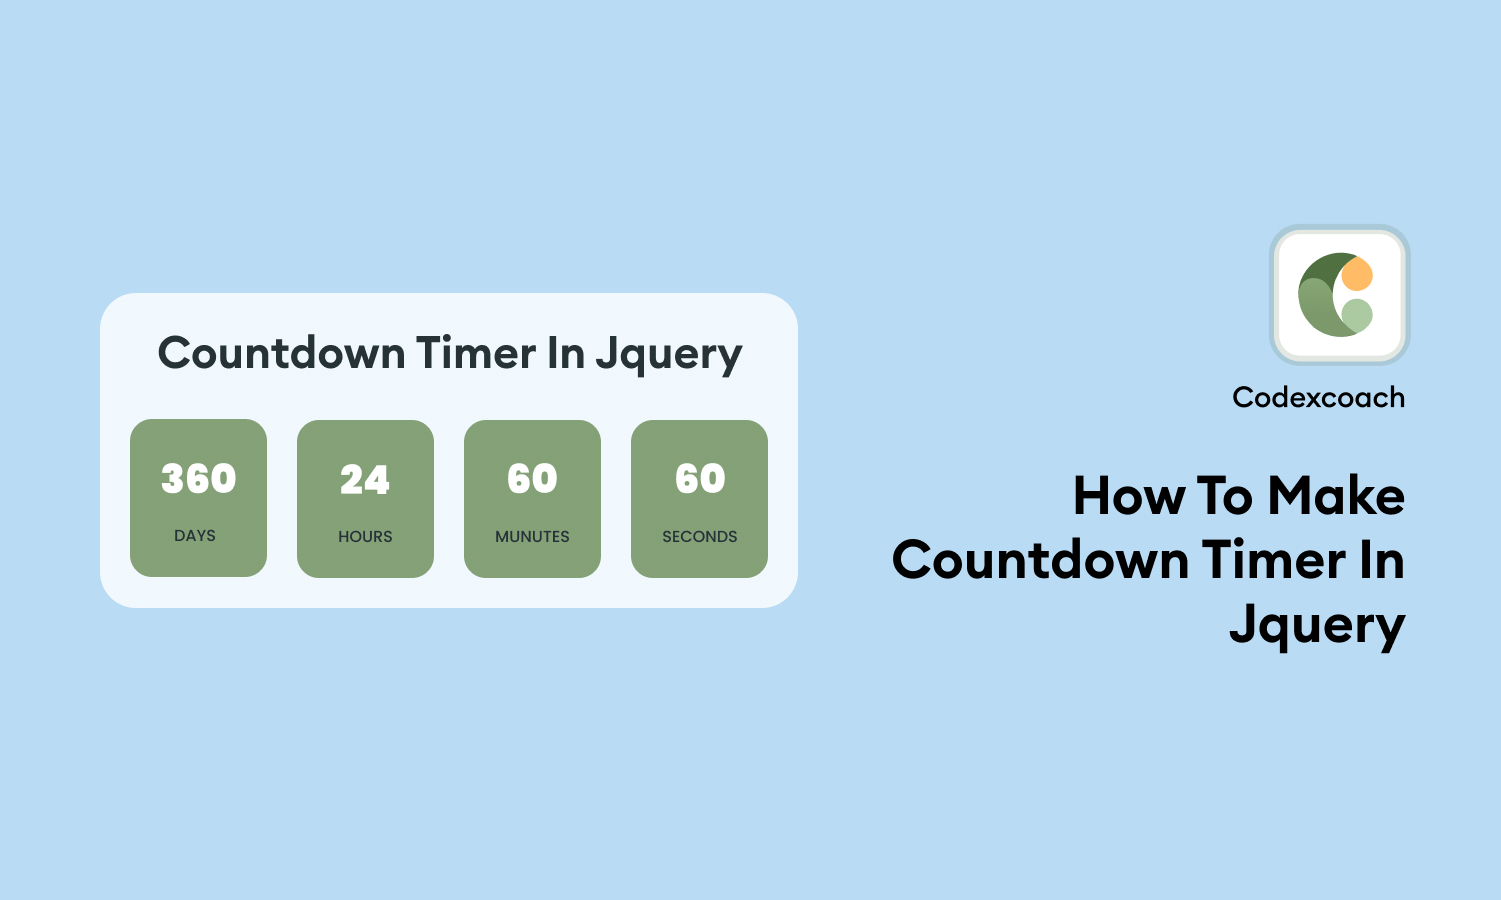
Countdown clocks are a wonderful method to build anticipation and engage website visitors. Whether you want to show how much time is left till a sale, an event, or a product launch, jQuery provides a strong and simple option for designing countdown clocks. In this article, we’ll walk you through the steps of making a countdown timer with jQuery.

Step 1: write HTML
<div class="cxc_count_down_Timer"></div>Step 2: Styling the Countdown Timer
We may use CSS styles to make our countdown timer more aesthetically attractive. Here’s an example of how the countdown timer might be styled:
<style type="text/css">
		.cxc_count_down_Timer{
			text-align: center;
		}
		.cxc_conteiner .time_left {
			border: 4px solid #efeded;
			color: #fff;
			font-size: 16px;
			background-color: #587052;
			border-radius: 5px;
			min-width: 110px;
			display: inline-block;
			padding: 6%;
		}
		.cxc_conteiner {
			margin-right: 4px;
			min-width: 110px;
			display: inline-block;
		}
		.cxc_description {
			font-size: 18px;
			color: #3A424D;
			display: block;
			font-weight: 600;
		}
		.cxc-expired {
			font-weight: 600;
			letter-spacing: 1px;
			border: 4px solid #efeded;
			color: #fff;
			font-size: 16px;
			background-color: #587052;
			border-radius: 5px;
			display: inline-block;
			padding: 10px 130px;
		}
	</style>
Step 3: Implementing the JavaScript code
Now it’s time to add the JavaScript code to make our countdown timer functional. Create a new file called “script.js” and link it to the HTML file by adding the <script> tag before the closing </body> tag. Here’s an example of how you can implement the countdown timer using jQuery:
<script type="text/javascript">
		jQuery(document).ready( function(){

			cxc_event_countdown_fun("01 Jan 2024 12:00:00", jQuery('.cxc_count_down_Timer') );

		} );

		function cxc_event_countdown_fun( expiryDateTime, t_this ){

			var countdownDateTime = new Date(expiryDateTime).getTime();

			var timeInterval = setInterval(function() {

				var currentDateTime = new Date().getTime();

				var remainingDayTime = countdownDateTime - currentDateTime;

				var totalDays = Math.floor( remainingDayTime / (1000 * 60 * 60 * 24));
				var totalHours = Math.floor( ( remainingDayTime % ( 1000 * 60 * 60 * 24 ) ) / ( 1000 * 60 * 60 ) );
				var totalMinutes = Math.floor( ( remainingDayTime % ( 1000 * 60 * 60 ) ) / ( 1000 * 60 ) );
				var totalSeconds = Math.floor( ( remainingDayTime % ( 1000 * 60 ) ) / 1000 );

				t_this.html( "<span class='cxc_conteiner'><span class='days time_left'>"+ totalDays +"</span><span class='cxc_description'>Days</span></span>" + "<span class='cxc_conteiner'><span class='hourse time_left'>"+ totalHours +"</span><span class='cxc_description'>Hours</span></span>" + "<span class='cxc_conteiner'><span class='minutes time_left'>"+ totalMinutes +"</span><span class='cxc_description'>Minutes</span></span>" + "<span class='cxc_conteiner'><span class='secondes time_left'>"+ totalSeconds +"</span><span class='cxc_description'>Seconds</span></span>" );

				if (remainingDayTime < 0) {
					clearInterval(timeInterval);
					t_this.html("<span class='cxc_conteiner'><span class='cxc-expired'>Your Time Event Is Live</span></span>");
				}

			}, 1000);

		}
	</script>
Step 4: Testing the Countdown Timer
Save all of the files in the same directory and use your web browser to view the HTML file. The countdown timer should now be ticking down to the set end date and time.


