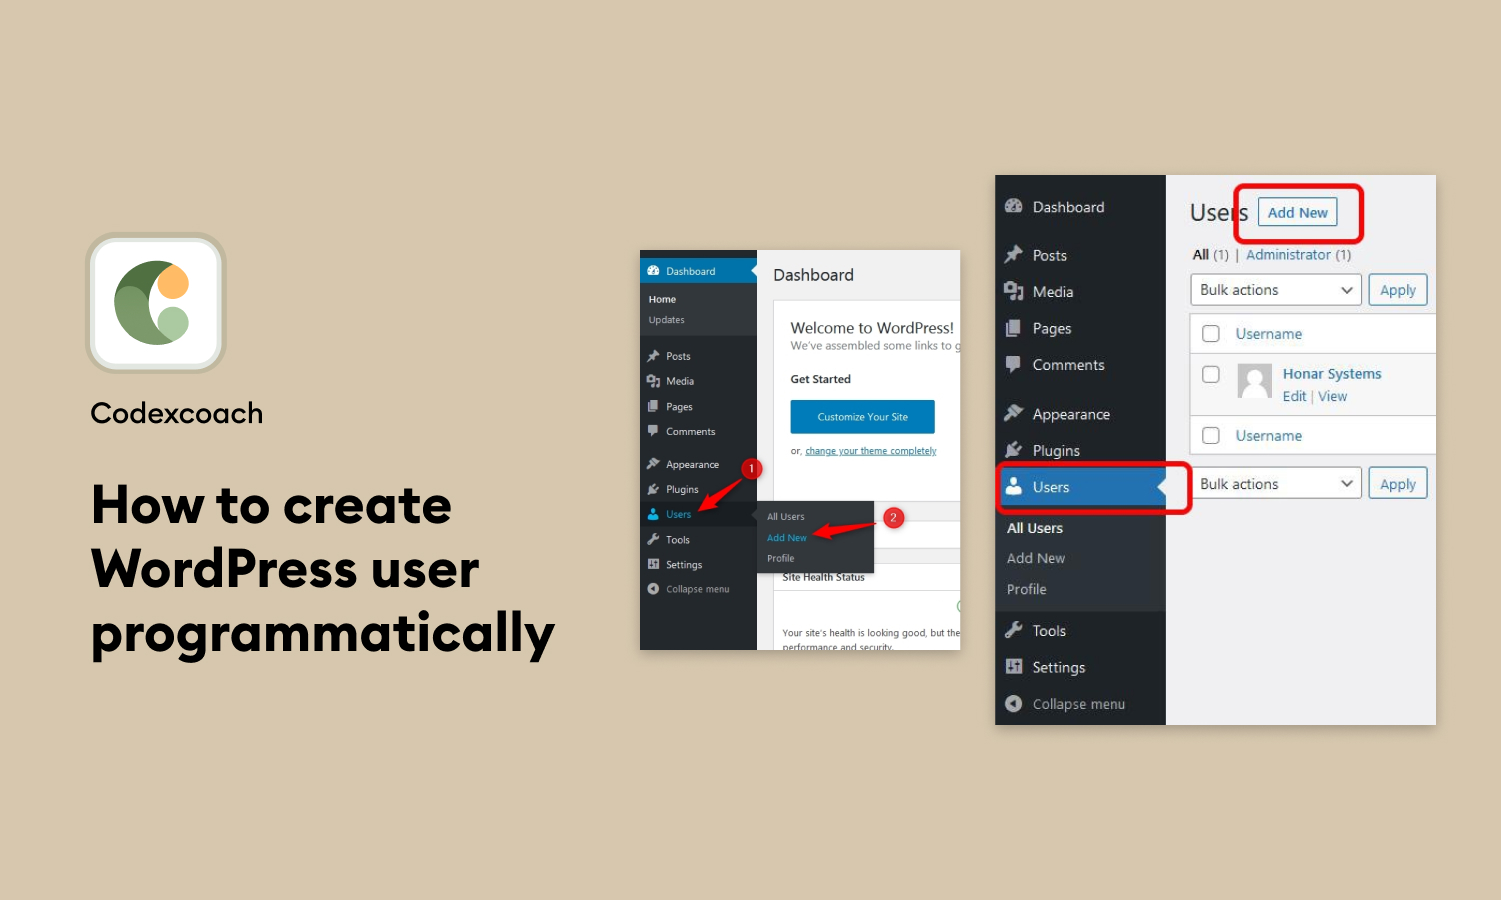
Creating and managing users is a routine task for any WordPress website. While you can always add users manually through the WordPress admin dashboard, there are scenarios where you might need to automate the process.
For instance, you might be looking to integrate your WordPress site with an external application, or perhaps you need to add users in bulk.
In such cases, knowing how to create a WordPress user programmatically can come in handy. This guide will walk you through the steps to achieve this, from accessing necessary files to writing the PHP code that gets the job done.
Whether you are a WordPress developer or a website owner with some technical skills, this guide is designed to help you efficiently automate the user creation process.
Make a single user programatically
The code snippet is a simple example of how to create a new user in a WordPress site using the wp_create_user() function.
<?php
wp_create_user( 'xyz', 'passwordgoeshere', '[email protected]' );
?>
So, when this code runs, it will create a new WordPress user with the username “xyz,” the password “passwordgoeshere,” and the email address “[email protected]”.
For example, you should utilise a hook to prevent the user from being created while they are travelling around backend sites or reloading the screen. The revised code will appear as follows:
<?php
add_action( 'admin_init', 'cxc_create_custom_user_call_back' );
function cxc_create_custom_user_call_back(){
	wp_create_user( 'xyz', 'passwordgoeshere', '[email protected]' );
}
?>
How to Set Up Multiple Users programmatically wordpress
Setting up multiple users programmatically in WordPress is an efficient way to manage user accounts, especially useful for larger websites or for integrating with external systems. You can use functions like wp_create_user() inside a loop to batch-create users, or utilize wp_insert_user() for more advanced user properties. Typically, you’d place this code within your theme’s functions.php file or a custom plugin.
The following code will generate users from a provided array of names and passwords.
<?php
add_action('admin_init','cxc_create_multiple_user_call_back');
function cxc_create_multiple_user_call_back(){

	$users_arr = array(
		array( 'abc','abcword1' ),
		array( 'cxc','cxcword2' ),
		array( 'gujjuplanet','gujjuplanetword3' ),
		array( 'xyz','xyzword4' ),
	);

	if( $users_arr ) {
		foreach( $users_arr as $user ){
			wp_create_user( $user[0], $user[1] );
		}
	}
}
?>
In this example, we’ve set up four users, but you can add as many as you like. Just include them in the array and assign usernames and passwords accordingly.
Read more: How To Create The Animated Accordion Using HTML, CSS, and jQuery
How to Set Up a User and Send Email
Setting up a user and sending a welcome email in a WordPress environment can involve several steps. Below, we outline how to do both programmatically.
In the upcoming script, we employ two key functions:
wp_generate_password()for creating a random passwordwp_mail()for dispatching the welcome email to the user
The script is designed to automatically set up a WordPress account, assign a generated password, and send a welcome email to [email protected], including the password in the subject line. If you plan to implement this code on your own site, don’t forget to personalize the username, email address, and message content.
How to Create a User and Assign Account Information
Creating a user and assigning account information programmatically can be useful in various scenarios such as automating the user creation process, integrating with external systems, or managing bulk user data. Below is a comprehensive guide on how to do this in a WordPress environment.
<?php
add_action( 'admin_init', 'cxc_create_user_meta_data_call_back' );
function cxc_create_user_meta_data_call_back(){
	wp_insert_user( array(
		'user_login' 	=> 'xyz',
		'user_pass' 	=> 'passwordhere',
		'user_email' 	=> '[email protected]',
		'first_name' 	=> 'Xyz',
		'last_name' 	=> 'Abc',
		'display_name' 	=> 'Xyz Abc',
		'role' 			=> 'customer'
	));
}
?>
How to check user is already exits in WordPress programmatically
Checking if a user exists before attempting to create a new one is a crucial step in WordPress development. Doing so can help avoid errors or conflicts with existing user data. WordPress offers various functions to check if a user already exists, based on username, email, or user ID.
The username_exists() method may be used to determine whether a user exists based on a user name.
<?php
add_action( 'admin_init', 'cxc_if_user_exists_call_back' );
function cxc_if_user_exists_call_back(){
	if( username_exists( 'xyz' ) == '' ) {
		// Do something for unexistent user
		echo "not an Existing User";
	} else {
		// Do something if user name exists
		echo "Existing User";
	}
}
?>
In conclusion, programmatically creating WordPress users offers a flexible and efficient way to manage your site’s user base, especially when you need to integrate with external systems or handle bulk user registrations.
At CodexCoach We’ve covered the basics of how to use WordPress functions to create a new user, how to set their roles, and even how to add custom meta data. Equally important is the need to check if a user already exists to avoid errors and conflicts.


